Introduction
Tablets are essential devices for work, learning, and entertainment. A damaged screen can disrupt your daily routine and compromise your tablet’s usability. Knowing how to fix your tablet screen can save you time and money. This guide provides a comprehensive approach to diagnosing and repairing screen issues effectively, empowering you to handle these challenges confidently.
Diagnosing the Tablet Screen Issue
Before beginning any repair, accurately diagnosing the screen problem is vital. Proper identification ensures that you take the correct repair path and avoid unnecessary steps.
Identifying Common Types of Screen Damage
- Physical Damage: Inspect for visible cracks, chips, or shattered areas.
- Functional Damage: Check for issues like unresponsive touch areas, flickering, or unusual lines across the screen.
By distinguishing between physical and functional problems, you can decide whether a DIY fix is possible.
Recognizing Symptoms of Screen Malfunction
Symptoms of underlying issues may include:
- Sections of the touchscreen not responding
- Display freezes randomly during use
- Color distortions or patterns that should not be present
Recognizing these symptoms guides your decision-making process, helping you understand whether the damage is superficial or indicative of deeper problems.
Preparing for Screen Repair
Preparation is crucial for a successful screen repair. Gathering the right tools and taking necessary safety precautions can make a significant difference.
Essential Tools and Materials Required
Before you begin, ensure you have the following tools:
- A precision screwdriver set
- Plastic opening tools
- A replacement screen module that matches your device
- Adhesive strips or electronic-safe glue
- A soft cleaning cloth and isopropyl alcohol
Having these items on hand will streamline your repair process and help avoid unnecessary interruptions.
Safety Measures and Precautions
Safety should never be compromised when handling electronic devices. To work safely, always:
- Turn off the tablet and disconnect it from all power sources
- Use an anti-static wrist strap to prevent electrostatic discharge
- Organize your workspace to keep track of small screws and components
These measures will minimize the risk of additional damage and protect both you and your tablet
Step-by-Step Guide to Fixing Your Tablet Screen
With tools and safety precautions ready, you can proceed with the repair. This step-by-step guide will assist you through the entire process.
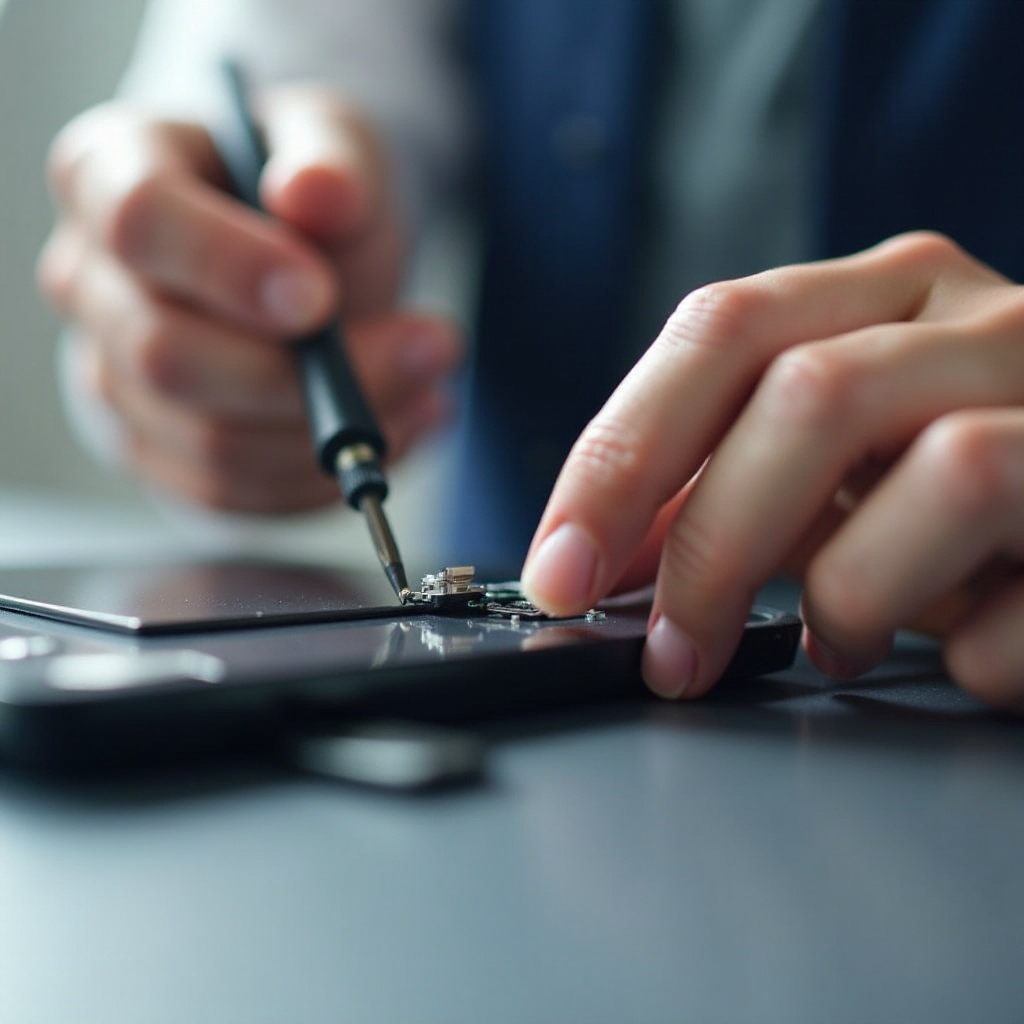
Removing the Damaged Screen Safely
- Use the precision screwdriver to remove screws securing the screen.
- Gently insert the plastic opening tools between the screen and the tablet body to separate them, carefully disconnecting any cables attached.
The careful removal will prevent further damage to internal components.
Installing the New Screen with Precision
- Connect the new screen to the motherboard by aligning and attaching the connector gently.
- Secure the screen in place, making certain it aligns perfectly within the frame.
Following these steps ensures a snug fit and reliable connection.
Testing and Verifying the New Screen Installation
Before completing the assembly, it’s essential to test the new screen:
- Power on the tablet to check for correct display functionality.
- Ensure the touch features work across the entire screen.
These checks confirm successful screen installation, helping avoid reopening the device for adjustments.
Circumstances for Professional Repair Services
While many users find DIY solutions effective, certain situations warrant professional intervention. If the screen remains faulty after attempted repairs or if the damage extends to internal components, seeking expert help is prudent. Professionals can diagnose intricate issues and conduct repairs with a higher success rate, often offering a warranty for extra reassurance.

Additional Tips to Maintain Your Tablet Screen
Preventive actions can significantly extend your tablet’s screen lifespan:
- Apply a reliable screen protector to protect against scratches
- Use a sturdy case to reduce damage from accidental drops
- Regularly clean the screen with a soft cloth to maintain clarity
Implementing these measures will help keep your tablet functioning smoothly over a longer period.

Conclusion
With the tools and knowledge from this guide, you can address many common screen issues independently. However, understanding when to turn to professionals can save time and further complications. With these strategies, you’ll navigate screen repairs effectively, preserving your tablet’s performance and utility.
Frequently Asked Questions
How much does it typically cost to replace a tablet screen?
The cost can vary greatly based on the model; however, professional repairs range from $50 to $300 inclusive of parts and labor.
Can I use any type of adhesive to attach a new screen?
No, it is crucial to use adhesives specifically designed for electronics to prevent damage or screen detachment.
Is it possible to fix a cracked screen without replacing it?
Minor cracks may be improved using specialty repair kits, but significant damage usually necessitates a full screen replacement for reliable function.