Introduction
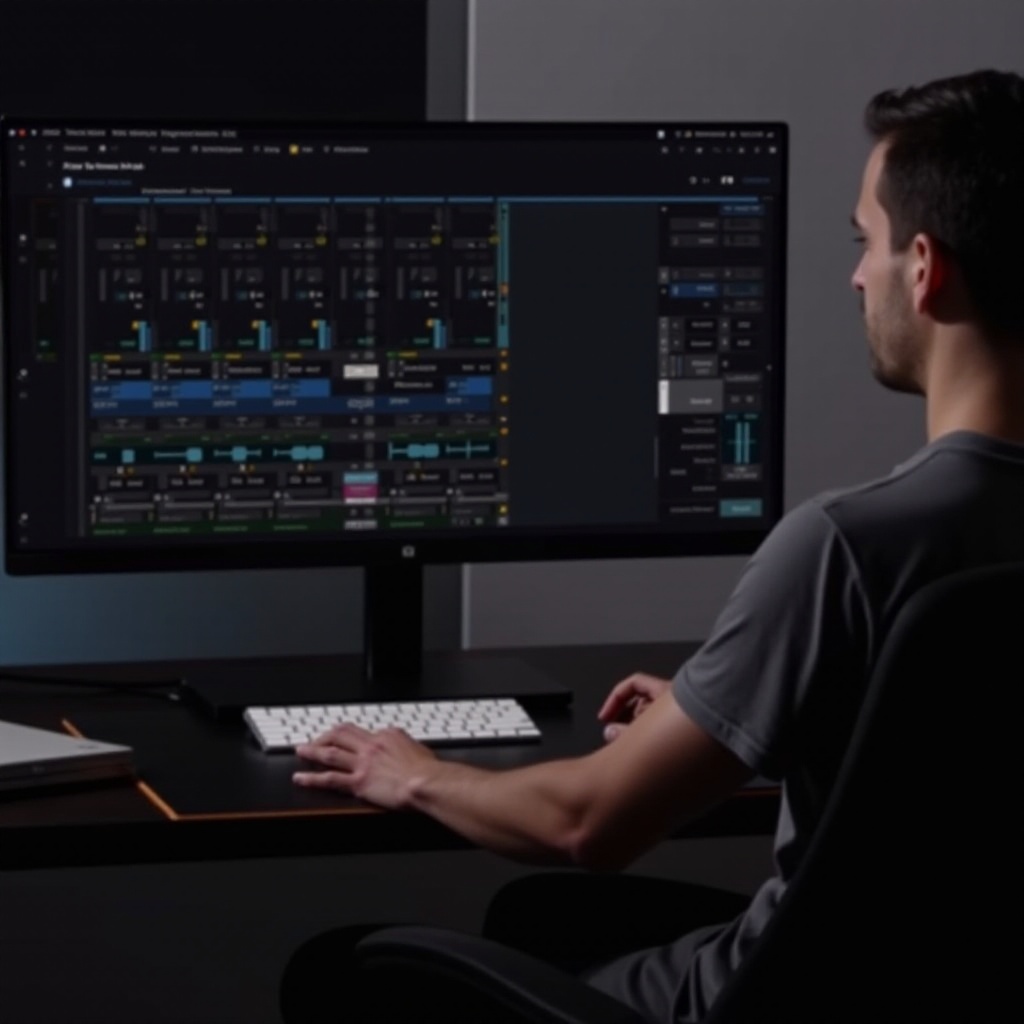
Middle mouse pan is an indispensable feature in Presonus Studio One that maximizes efficiency and precision in music production. Understanding how to effectively use this function can greatly elevate your workflow and creativity. This article delves into mastering the middle mouse pan in Presonus Studio One, from setup to advanced techniques, ensuring you get the most out of this powerful tool.
Understanding Middle Mouse Pan in Presonus Studio One
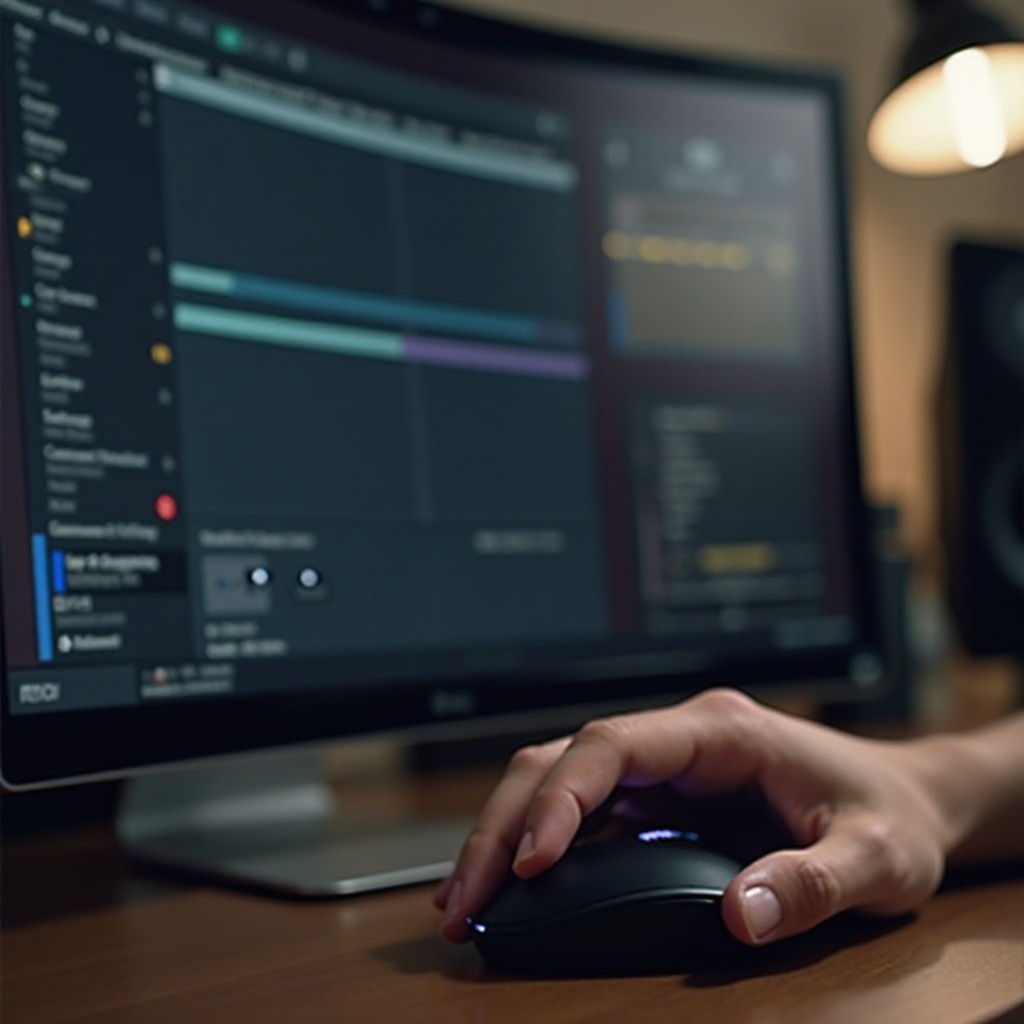
The middle mouse pan feature allows users to navigate the audio timeline rapidly and intuitively. This convenience is achieved through the panning capability, enabling you to move horizontally and vertically within the project seamlessly. For music producers, this translates to significant time savings and a more fluid editing process.
Pan functions with the middle mouse button offer quick access to other tools and menu items, once activated. This feature, when well-utilized, can greatly reduce the time spent on moving between different parts of the track and make the creation and editing process efficient.
Setting Up Middle Mouse Pan in Presonus Studio One
Setting up the middle mouse pan in Presonus Studio One is a straightforward process:
1. Navigate to the ‘Options’ menu.
2. Select ‘Advanced.
3. Under the ‘Editing’ tab, find the ‘Navigation’ section.
4. Ensure that the ‘Enable Mouse Wheel Zoom’ is active. This setting allows the middle mouse button functionality.
Fine-tuning these settings can further tailor the middle mouse pan to your preference. Adjust the scroll speed in the menu to make sure the pan movements are at an optimal level for your workflow. You may also consider setting custom key shortcuts that include the middle mouse button for more personalized control.
Techniques for Effective Mouse Use in Presonus Studio One
Optimizing the use of your mouse, especially the middle mouse button, in Studio One, can drastically enhance editing performance:
1. Zooming: Quickly zoom in and out of your timeline using the mouse wheel. This allows precise control and saves time with each edit.
2. Sliding Through Tracks: Click and hold the middle mouse button, then move your mouse to navigate through your project effortlessly.
3. Precision Editing: Combine the middle mouse functionality with modifier keys (like Shift or Ctrl) to enable faster transitions and precise adjustments.
4. Drag and Drop: Use the middle mouse button in conjunction with drag-and-drop features for a streamlined approach to adding or rearranging clips and effects.
These techniques are essential for accelerating your editing process and achieving professional results efficiently.

Enhancing Workflow with Custom Mouse Settings
To further optimize your workflow, consider customizing your mouse settings to align better with your personal editing style:
1. Custom Shortcuts: Assign shortcuts to your mouse buttons to have quick access to frequently used tools. This reduces reliance on the keyboard and speeds up the editing process.
2. Profile Setup: Create different mouse profiles for various tasks like editing, mixing, or arranging, each with custom settings tailored to those specific activities.
3. Adjust Sensitivity: Modify your mouse sensitivity settings to fit your comfort level and task requirements, ensuring every movement is both precise and comfortable.
Custom settings make the editing process more intuitive and tailored to your specific needs, allowing you to focus more on creativity rather than navigation.
Real-World Examples and Case Studies
Applying these techniques in real-world scenarios highlights their effectiveness. For instance, a producer working on a complex arrangement with multiple tracks and intricate details can benefit hugely from middle mouse pan, improving the speed of navigating between sections and quickly implementing edits.
Another case involves mixing engineers who can move swiftly through dense sessions, enabling rapid adjustments and maintaining workflow momentum. Real-world applications underline the practical impact and integration of these techniques in everyday use.
Conclusion
Mastering the middle mouse pan in Presonus Studio One is a game-changer for music production. Implementing the setup tips, techniques, and customization methods discussed empowers you to produce efficiently, saving time and enhancing creative potential.
Frequently Asked Questions
How do I enable the middle mouse pan in Presonus Studio One?
To enable the middle mouse pan, go to ‘Options,’ select ‘Advanced,’ then ‘Editing,’ and ensure the ‘Enable Mouse Wheel Zoom’ is active.
Can I customize middle mouse functions in Presonus Studio One?
Yes, you can customize the middle mouse functions by creating custom shortcuts and adjusting settings to match your workflow preferences.
What are the benefits of using middle mouse pan for music production?
The benefits include faster navigation, improved workflow efficiency, precise editing, and an overall smoother production process, allowing more focus on creativity.