Introduction
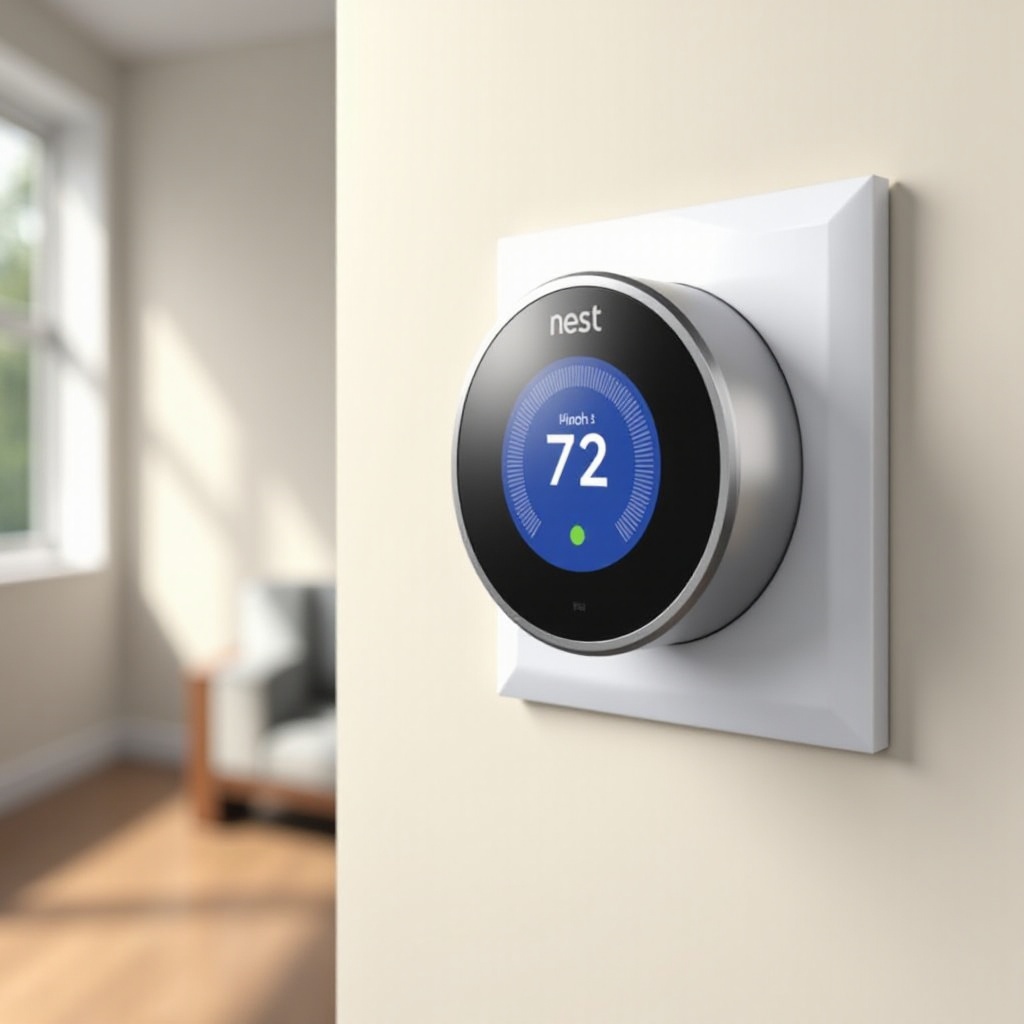
Efficient maintenance of smart home devices is vital for their longevity and functionality. Among these devices, the Nest Thermostat stands out as a key element in regulating home temperature and optimizing energy consumption. Whether it’s for repair, replacement, or upgrading, knowing how to remove the thermostat from its base can be crucial. In this comprehensive guide, we’ll provide you with all the information needed to remove the Nest Thermostat safely and efficiently.
What You Need to Know Before Removing Your Nest Thermostat
Before embarking on the removal task, ensure you’re fully prepared. Your safety is paramount, so make sure to turn off the power supply to the thermostat circuit to prevent electrical hazards. Gather the necessary tools, typically a Phillips head screwdriver, which is essential for the smooth removal of the device. Additionally, it’s beneficial to understand the terms of your warranty, as inappropriate handling might void it. Once you’re informed and equipped, you can confidently prepare for the removal process.
Preparations for Removing Your Nest Thermostat
Preparation plays a crucial role in ensuring a hassle-free removal experience. Start by establishing a clear, organized workspace to facilitate efficient operations. Next, locate and switch off the circuit breaker corresponding to the thermostat, which will cut off its power supply. Confirm the power is off by checking that the device’s display remains off when touched. With everything in place, you’re ready to proceed with removing the Nest Thermostat from its base.
How to Remove Nest Thermostat from the Base
Removing your Nest Thermostat involves several straightforward steps:
1. Switch Off the Power Supply:
– Double-check to ensure the thermostat is powerless by flipping the correct circuit breaker.
– Confirm the display is inactive as an extra safety measure.
- Detach the Display Carefully:
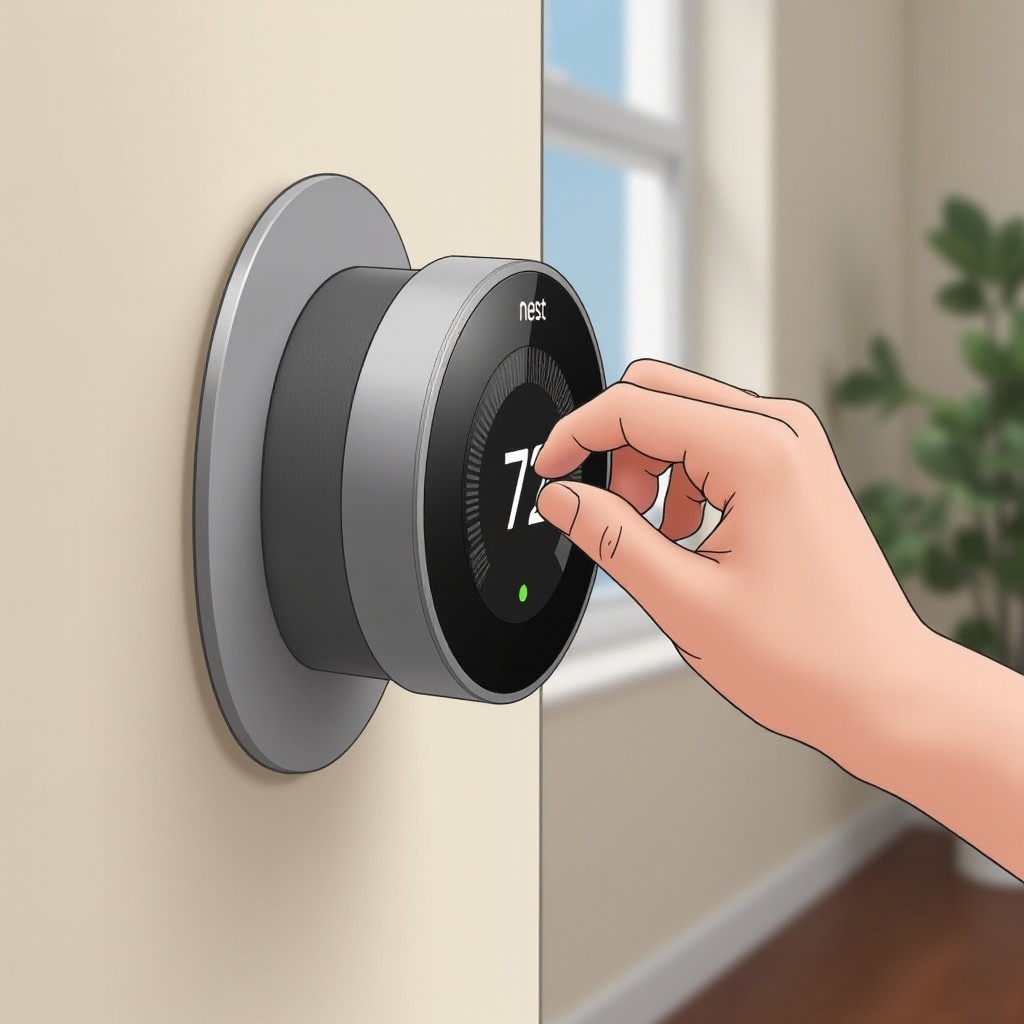
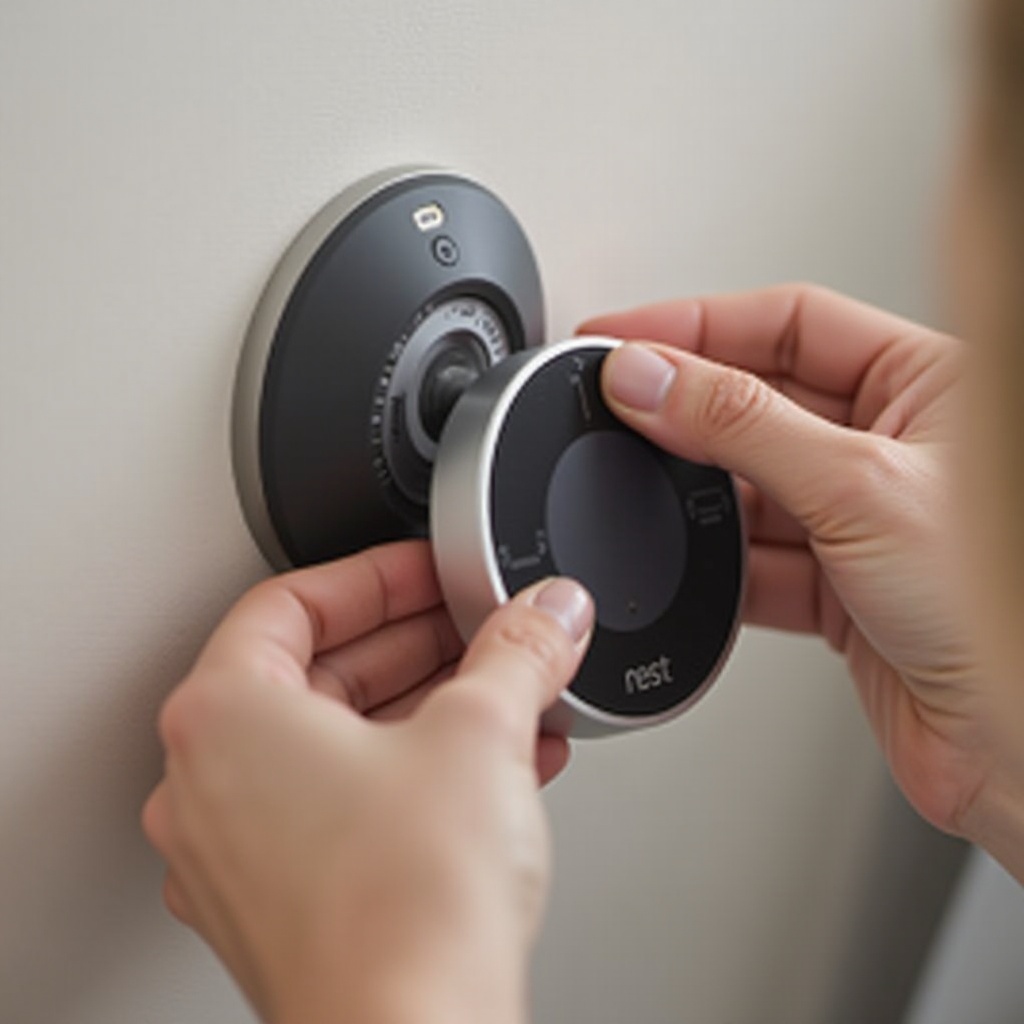
- Firmly but gently grasp the outer edge of the thermostat’s display.
-
Pull it towards you until it detaches from the base.
-
Remove the Base Plate from the Wall:
- Use the screwdriver to unscrew the base plate from the wall securely.
- Carefully disconnect the wires attached to the back. Keep track of their positions for an easy reinstallation process.
Going through these steps will ensure that you remove the thermostat without complication, preserving both the device and your wall’s integrity.
Troubleshooting Common Removal Issues
During removal, you might encounter a few common challenges. If the display proves difficult to detach, ensure you’re pulling evenly to avoid bending the device. A stuck base plate might be due to partially loosened screws, so double-check that all are fully removed. Persistent problems may signal underlying damage; if you suspect this, it’s advisable to contact a professional for help.
Having resolved any issues, review your components, making sure everything is intact and prepared for potential reinstallation or further examination.
Post-Removal Checklist
With the device removed, take this opportunity to conduct a thorough check. Verify all wires are correctly disconnected, and inspect the thermostat for any damage or wear that could have impacted its function. This step is essential if you plan to reuse or replace the thermostat.
Ensuring Your Nest Thermostat Functions Properly After Reinstallation
Proper reinstallation and testing are critical for ensuring your Nest Thermostat performs at its best.
- Testing Connections and Functionalities:
- Reattach the base to the wall, connecting the wires as per their recorded positions.
-
Secure the base with screws, then carefully snap the display back into place.
-
Recalibrating the Thermostat:
- Restore power, then verify that the device powers up without issues.
- Follow any on-screen prompts to recalibrate and conduct a test of its functionalities.
These steps guarantee your thermostat is ready to provide efficient service post-reinstallation.
Conclusion
Removing the Nest Thermostat is a task that can be managed with the right preparation and methodology. Regular maintenance checks and inspections ensure a prolonged life for your smart home gadgets, contributing to an efficient and comfortable living environment. When uncertain, professional assistance can be a prudent choice, safeguarding your device and home.
Frequently Asked Questions
How often should I remove and check my Nest Thermostat?
It’s recommended to inspect your Nest Thermostat annually or when noticing performance issues to ensure optimal operation and address any wear.
Can removing the Nest Thermostat void my warranty?
Removing the thermostat might void the warranty if it causes damage, so follow manufacturer guidelines and consider professional help if unsure.
Is it advisable to seek professional help for removal?
While many can safely remove the Nest Thermostat themselves, professional help ensures safety and handles complex electrical issues.