Introduction
Streamlining your workflow is essential for maximizing productivity. One tool that can help you achieve this is Keyboard Maestro. This powerful macro program can enhance your efficiency by automating various computer tasks. In this guide, we’ll explore how you can use Keyboard Maestro to create monitor-based switches, so you can work smarter, not harder.
Understanding Keyboard Maestro
What is Keyboard Maestro?
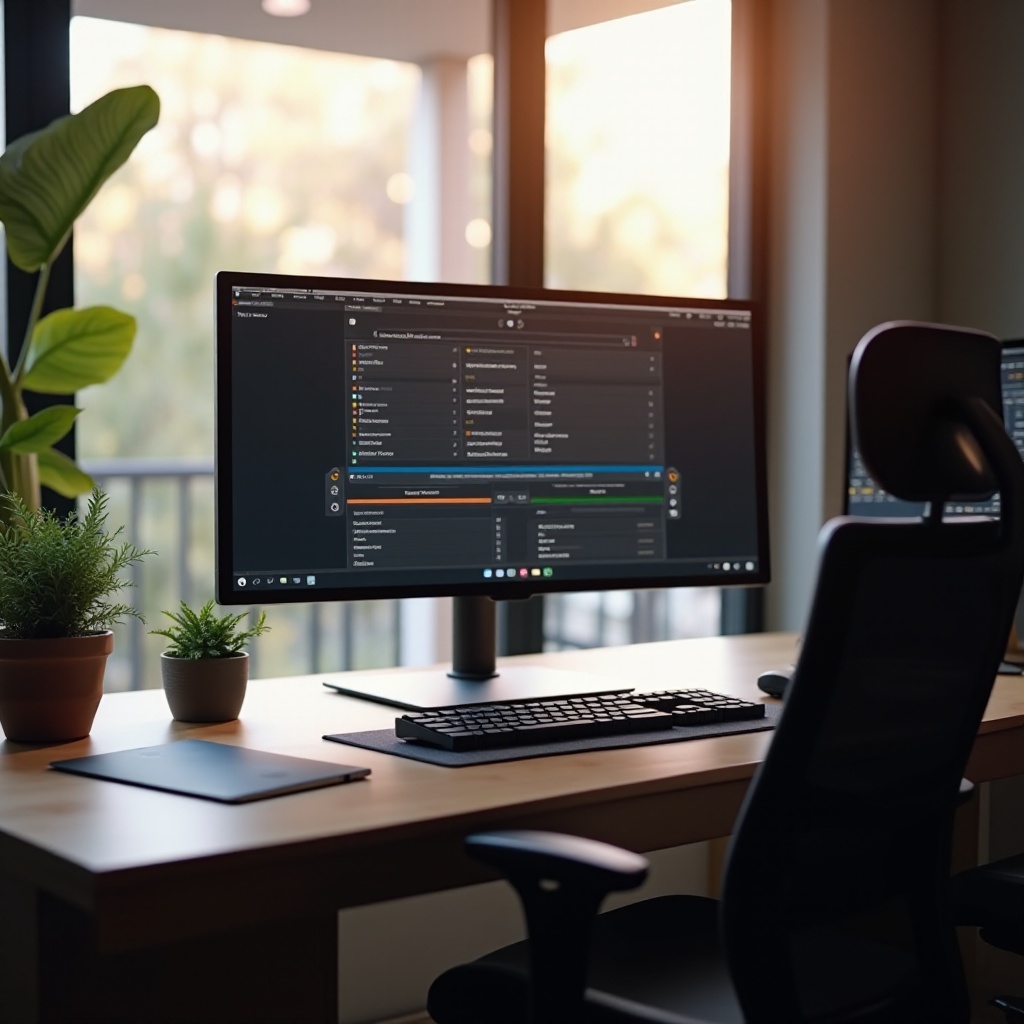
Keyboard Maestro is a macOS application designed to automate complex and repetitive tasks on your computer. It works by creating macros, which are sequences of actions activated by specified triggers. These actions can be as simple as typing a text snippet or as complex as controlling multiple applications and devices.
Key Features and Benefits
Keyboard Maestro offers a rich array of features including:
– Automated Workflows: Create customized macros to perform multiple tasks with a single command.
– Triggers and Actions: Set triggers like hotkeys, typed strings, or application launches to activate your macros.
– Flexibility: Adaptable to a wide range of applications, from simple tasks to complex workflows.
– Productivity Boost: Increase efficiency by reducing repetitive manual tasks, allowing you more time to focus on creative work.
Setting Up Keyboard Maestro
Installation Process
To get started with Keyboard Maestro, follow these steps:
1. Visit the Keyboard Maestro website and download the application.
2. Open the downloaded file and drag the Keyboard Maestro icon to your Applications folder.
3. Launch Keyboard Maestro and grant the necessary permissions for it to control your Mac.
Initial Configuration
Once installed, configure Keyboard Maestro to suit your needs:
1. Open Keyboard Maestro and navigate to the Preferences.
2. Configure the general settings like the default macro palette and logging options.
3. Set up specific preferences for triggers and actions based on your requirements.
Transitioning from setting up the application to creating specific monitor profiles allows you to tailor your workspace dynamically.
Creating Monitor Profiles
What are Monitor Profiles?
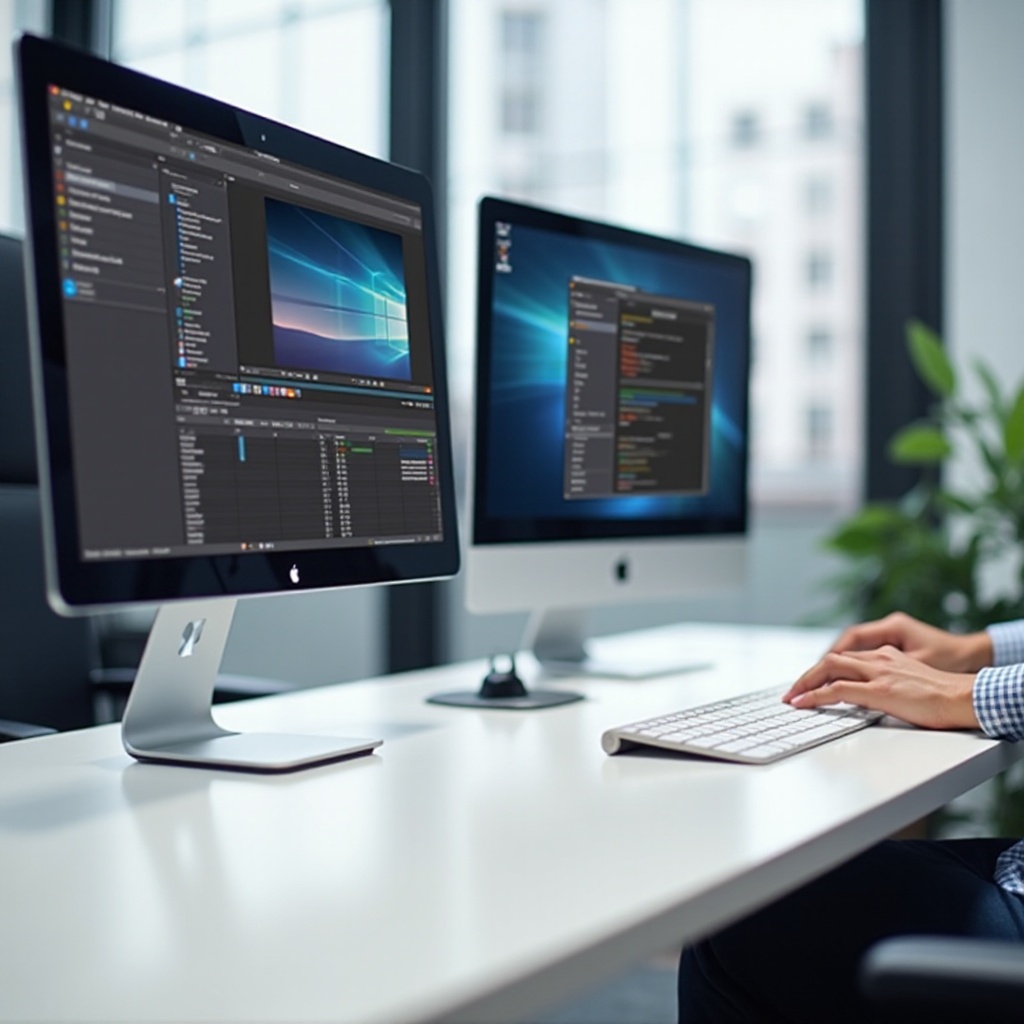
Monitor profiles in Keyboard Maestro refer to customized settings that adjust according to the monitor you are using. This is particularly useful for multi-monitor setups where different tasks may require different screen configurations.
Creating Custom Profiles
Follow these steps to create your custom monitor profiles:
1. Click on the ‘New Macro’ button to start a new macro setup.
2. Name the macro according to the monitor or task, for instance, ‘Writing Profile’ or ‘Design Profile.
3. Add actions specific to the macro like opening particular applications that you use on that monitor.
Using Profiles Efficiently
To use these profiles efficiently, you can:
– Assign hotkeys to switch between monitor profiles quickly.
– Use context-specific triggers like connecting an external monitor to activate a certain profile.
– Combine profiles with time-based triggers to change setups based on your work schedule.
Pairing these monitor profiles with macros enhances your workflow further.
Creating Macros for Monitor-Based Switching
Introduction to Macros
Macros are a fundamental part of Keyboard Maestro. They allow you to automate sequences of actions, providing control over your environment.
Step-by-Step Guide to Creating Macros
Here’s how to create a macro for monitor-based switching:
1. Start a New Macro: Click on ‘New Macro’ and name it.
2. Set Trigger: Select ‘Application Launch’ to trigger the macro when a specific app opens.
3. Add Actions: Add actions like ‘Open File,’ ‘Resize Window,’ and ‘Move Window to Monitor.
4. Test Macro: Run the macro to ensure it executes as expected.
Utilizing Monitor-Based Actions
Utilize monitor-based actions for more control:
1. Use the ‘If Then Else’ condition to run macros based on the specific monitor in use.
2. Apply ‘Move and Resize Window’ actions for optimal layout based on the monitor.
3. Combine application launches with monitor profiles for tailored workflows.
Combining these monitor-based macros with advanced techniques can provide even better productivity results.
Advanced Monitor-Switching Techniques
Task-Specific Monitor Usage
Leverage specific monitors for certain tasks:
– Use your main monitor for intensive tasks like video editing.
– Allocate secondary monitors for auxiliary tasks like reference materials or chat applications.
Combining Multiple Actions
Combine actions to create comprehensive workflows:
– Link actions like launching an application, opening relevant files, and adjusting window sizes.
– Use sequences that adjust based on time or context.
Real-World Examples
- A programmer can create a macro that opens a code editor and moves it to the primary monitor, while project documentation pops up on the secondary monitor.
- A graphic designer can set up their software to appear on their high-resolution monitor while emails and asset libraries appear on the secondary display.

Conclusion
Keyboard Maestro offers powerful tools to enhance your workflow through monitor-based switching. By setting up monitor profiles, creating macros, and integrating advanced techniques, you can streamline your daily tasks and optimize your productivity.
Frequently Asked Questions
How can I troubleshoot common issues with Keyboard Maestro?
You can troubleshoot common issues by checking Keyboard Maestro’s built-in help documentation, forums, and ensuring that necessary permissions are granted.
Can I use Keyboard Maestro with different operating systems?
Keyboard Maestro is exclusive to macOS and doesn’t support other operating systems like Windows or Linux.
Are there any prerequisites to using Keyboard Maestro for monitor-based switching?
Ensure you have multiple monitors connected and an understanding of basic Keyboard Maestro triggers and actions for efficient setup.